Getting Started
In this tutorial, we will deploy, initialize, and configure Ella Core. We will use Multipass to create a virtual machine with multiple network interfaces, install Ella Core inside the virtual machine, access the Ella Core UI, initialize Ella Core, and configure it.
Pre-requisites
To complete this tutorial, you will need a Ubuntu 24.04 machine with the following specifications:
- 8GB of RAM
- 4 CPU cores
- 30GB of disk space
Setup a Virtual Machine with multiple network interfaces
From the Ubuntu machine, install Multipass:
sudo snap install multipass
Create two lxc networks:
lxc network create n3
lxc network create n6
Use Multipass to create a bare Ubuntu 24.04 instance with two additional network interfaces:
multipass launch noble --name=ella-core --network n3 --network n6
Validate that the instance has been created with the two additional network interfaces:
multipass list
You should see the following output:
guillaume@courge:~$ multipass list
Name State IPv4 Image
ella-core Running 10.103.62.227 Ubuntu 24.04 LTS
10.243.161.26
10.117.122.101
You should see three IP addresses. Take note of the first one. In this example, the IP address is 10.103.62.227
. You will use this IP address later to access the Ella Core UI.
Connect to the instance:
multipass shell ella-core
Validate that the instance has the two additional network interfaces:
ip a
You should see that the instance has four network interfaces: lo
, ens3
, ens4
, and ens5
.
Install Ella Core
Inside of the ella-core
Multipass instance, install the Ella Core snap:
sudo snap install ella-core --channel=edge --devmode
Info
The configuration file for Ella Core is located at /var/snap/ella-core/common/core.yaml
. By default, this file will point to the ens4
and ens5
network interfaces. If you have different network interface names, you can update the configuration file accordingly.
Start Ella Core:
sudo snap start ella-core.cored
Validate that Ella Core is running:
sudo snap services ella-core.cored
You should see that the service is active:
ubuntu@ella-core:~$ sudo snap services ella-core.cored
Service Startup Current Notes
ella-core.cored disabled active -
Exit the Multipass instance:
exit
Access the Ella Core UI
Navigate to https://<your instance IP>:5002
to access Ella Core's UI. Use the IP address you noted earlier.
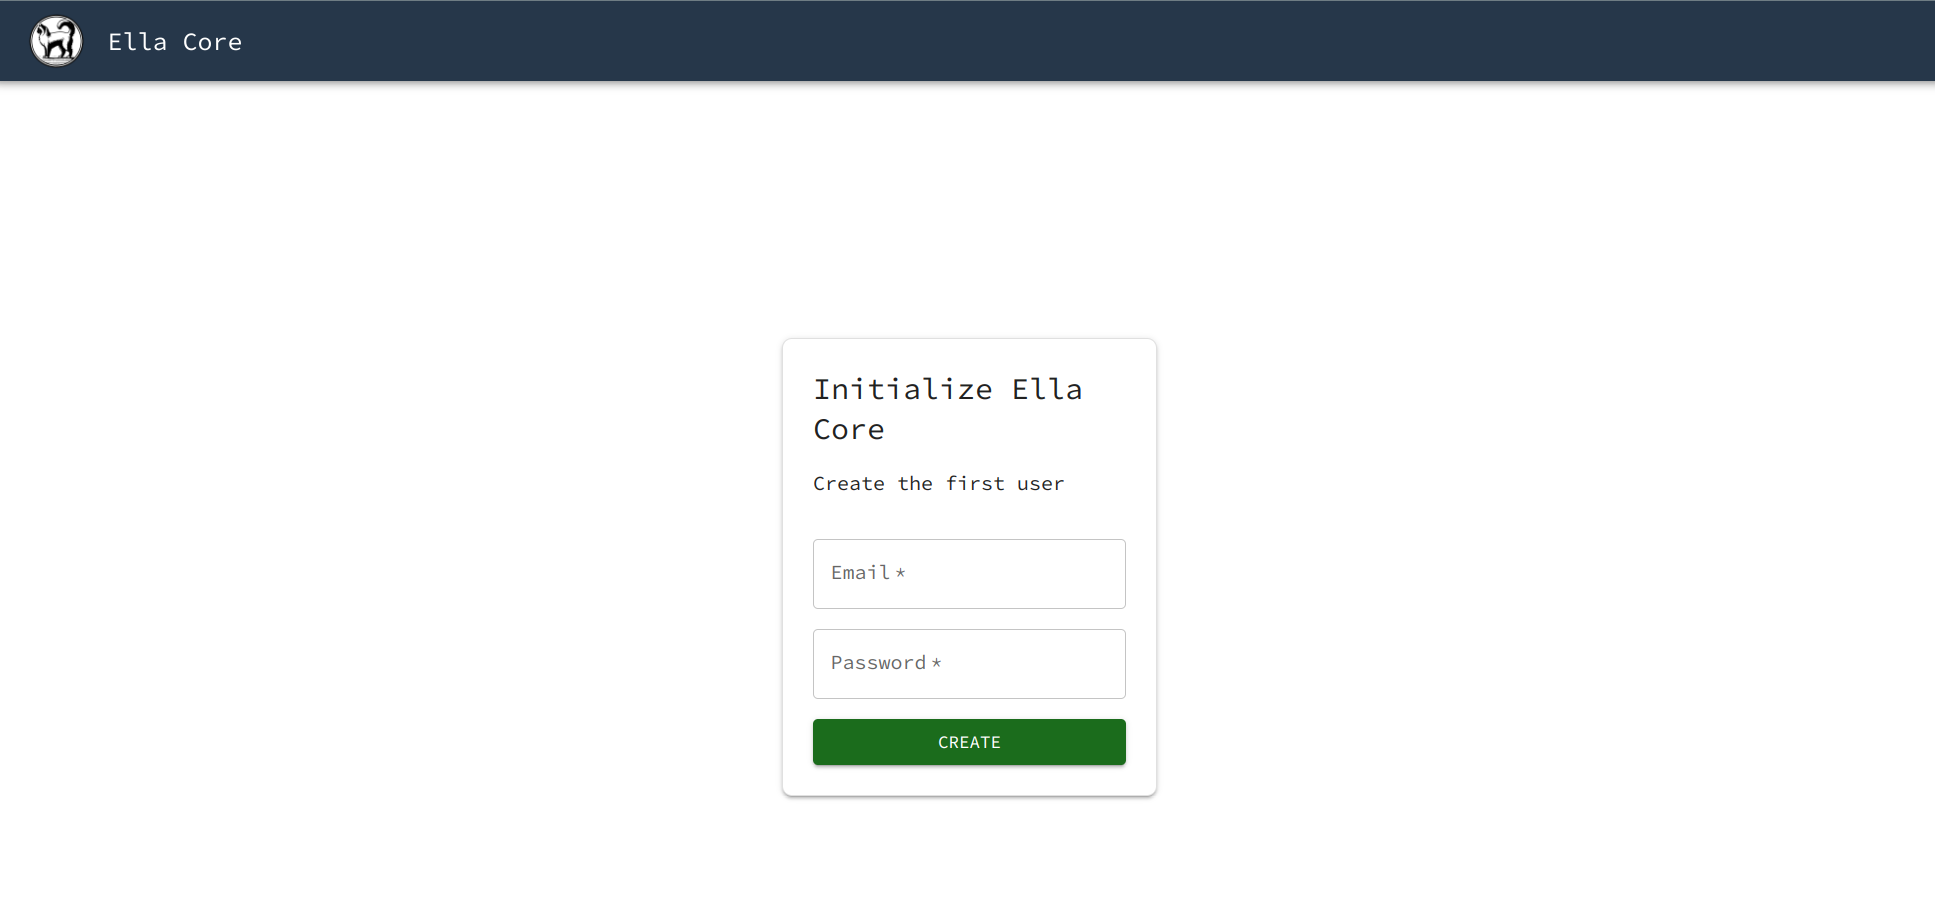
You should see the Initialization page.
Note
Your browser may display a warning about the security of the connection. This is because the certificate used by Ella Core is self-signed. You can safely ignore this warning.
Initialize Ella Core
In the Initialization page, create the first user with the following credentials:
- Email:
admin@ellanetworks.com
- Password:
admin
After creating the user, you will be redirected to the login page. Use the credentials you just created to log in.
You will be redirected to the dashboard.
Ella Core is now initialized and ready to be used.
Configure Ella Core
Here, we will navigate through the Ella Core UI to create a radio, a profile, and a subscriber.
Create a Radio
Navigate to the Radios
page and click on the Create
button.
Create a radio with the following parameters:
- Name:
test
- TAC:
001
Create a Profile
Navigate to the Profiles
page and click on the Create
button.
Create a profile with the name default
. You can keep the default values for the other parameters:
- Name:
default
- UE IP Pool:
172.250.0.0/24
- DNS:
8.8.8.8
- MTU:
1500
- Bitrate Uplink:
200 Mbps
- Bitrate Downlink:
100 Mbps
Create a subscriber
Navigate to the Subscribers
page and click on the Create
button.
Create a subscriber with the following parameters:
- IMSI: Click on "Generate" to automatically generate the MSIN.
- Key: Click on "Generate" to automatically generate a key.
- Sequence Number: Keep the default value.
- Profile:
default
Success
You have successfully deployed, initialized, and configured Ella Core. You can now use Ella Core to manage your private 5G network.
Destroy the Tutorial Environment
When you are done with the tutorial, you can destroy the Multipass instance:
multipass delete ella-core
You can also delete the two lxc networks:
lxc network delete n3
lxc network delete n6